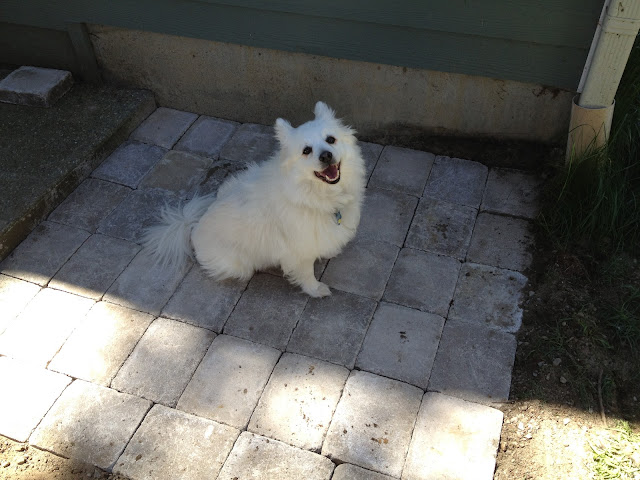
Making a patio is pretty easy. It takes time (what doesn't) and each yard has its own particular challenges. For us, it was the fact that our ground was hard to dig (stupid hard packed dirt and ROCKS - so many rocks!) and we ran into a huge slab of concrete about eight inches below the surface. It was really big and right next to the house so we couldn't unearth it. First, we tried working around it, but it was just too big, so we had to reduce it in size somehow. Instead of heading to the hardware store and buying a mallet and chisel, I decided to improvise and use a large rock to whittle away at the thing. It took repeated bashing for half-an-hour, but I eventually whittled it down. I would have made a good caveman.
After we dug the hole, we put down about 6 inches of gravel, then 2 inches of sand over that, and then place pavers on the very top. Both are to help the drainage of the area. I believe you use sand over the gravel to ensure that the pavers can easily get level.
We went on the thinner end for all of the layers, but so far, we haven't had any drainage problems. I don't anticipate that we will have any in the future either, because we've been having a really wet summer - like "Junuary" weather (January in June, get it? Ha ha, our weather forecaster coined the term last summer - the worst one in recent memory).
Anyway, here are some pictures of the process and product. Things are gradually coming together.
 |
| One side of our hole |
 |
| The other side. |
 |
| Aaron hitting concrete rock. You'll notice sand laid down. That's how far we got before finding out the rock was just a little too proud. |
 |
| Caveman Aaron. |
 |
| Colton is modeling the new patio. Work it! |
For more detailed instructions, you can look here.

No comments:
Post a Comment